· Patrik · Tutorials · 7 min read
Vector Tiles vs. Raster Tiles: What Every Map Developer Should Know
Both serve map data to your app. But they work fundamentally differently, and the choice affects performance, styling flexibility, interactivity, and cost. Here's a practical comparison.
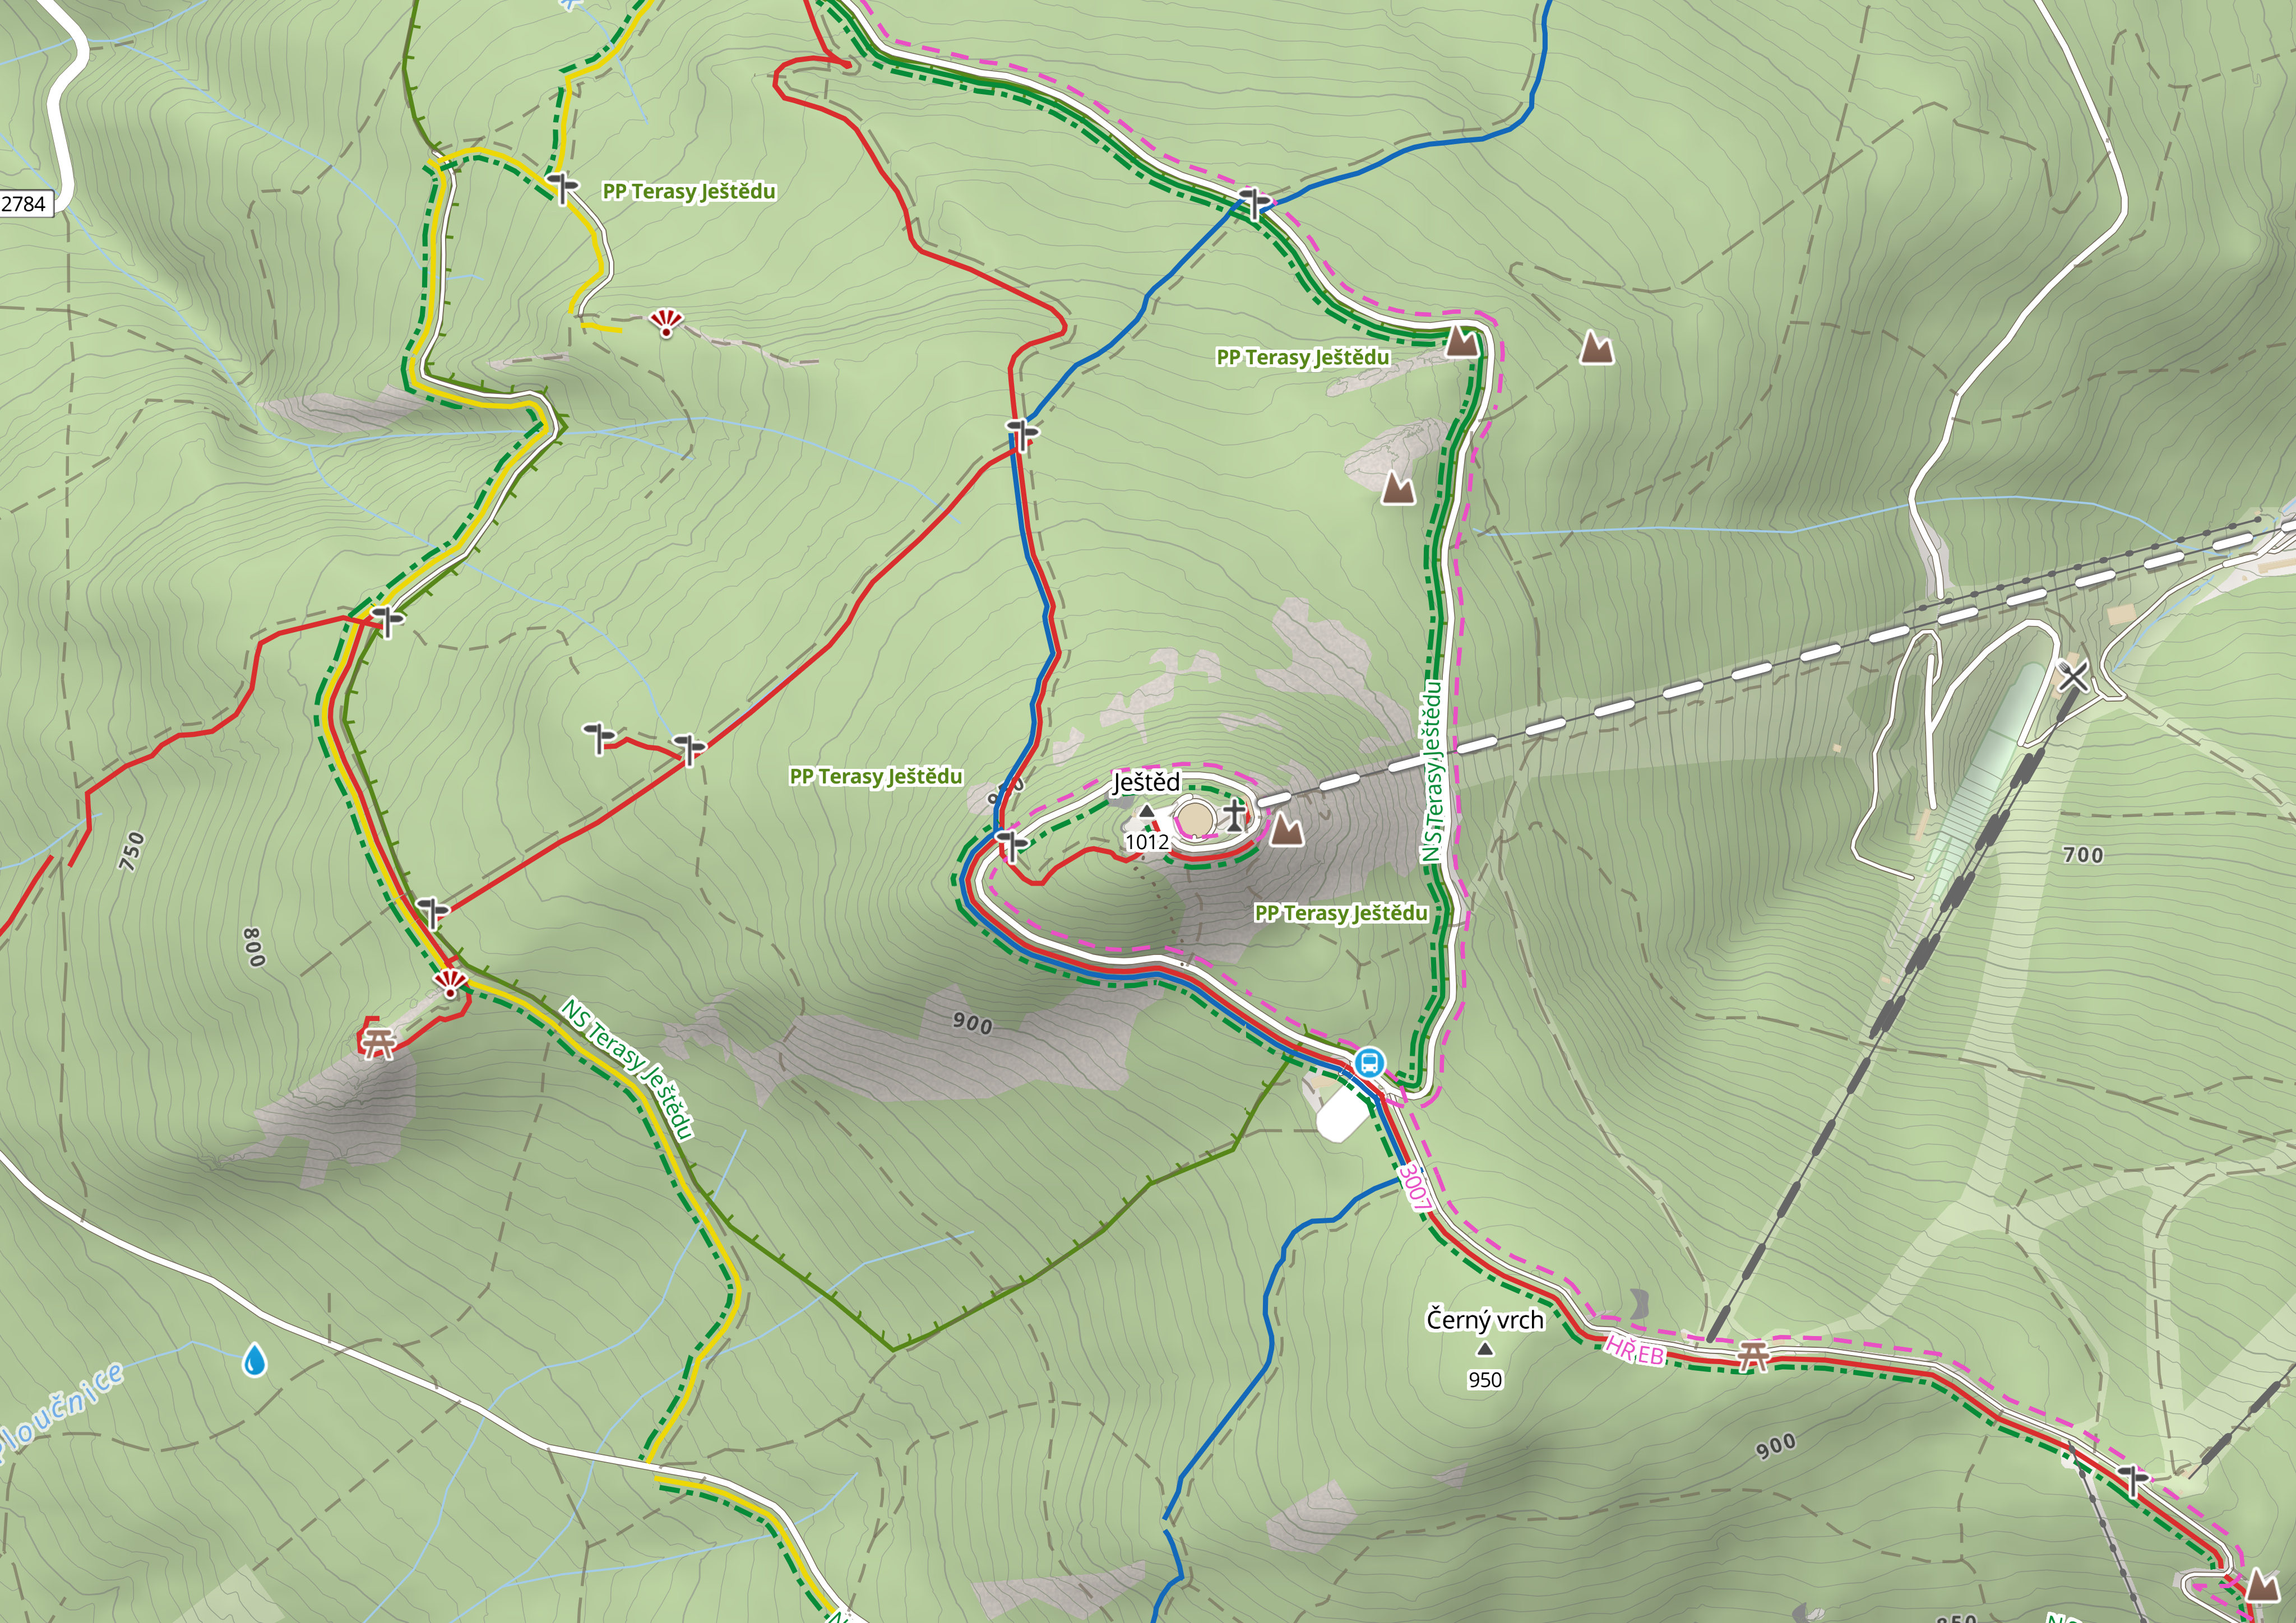
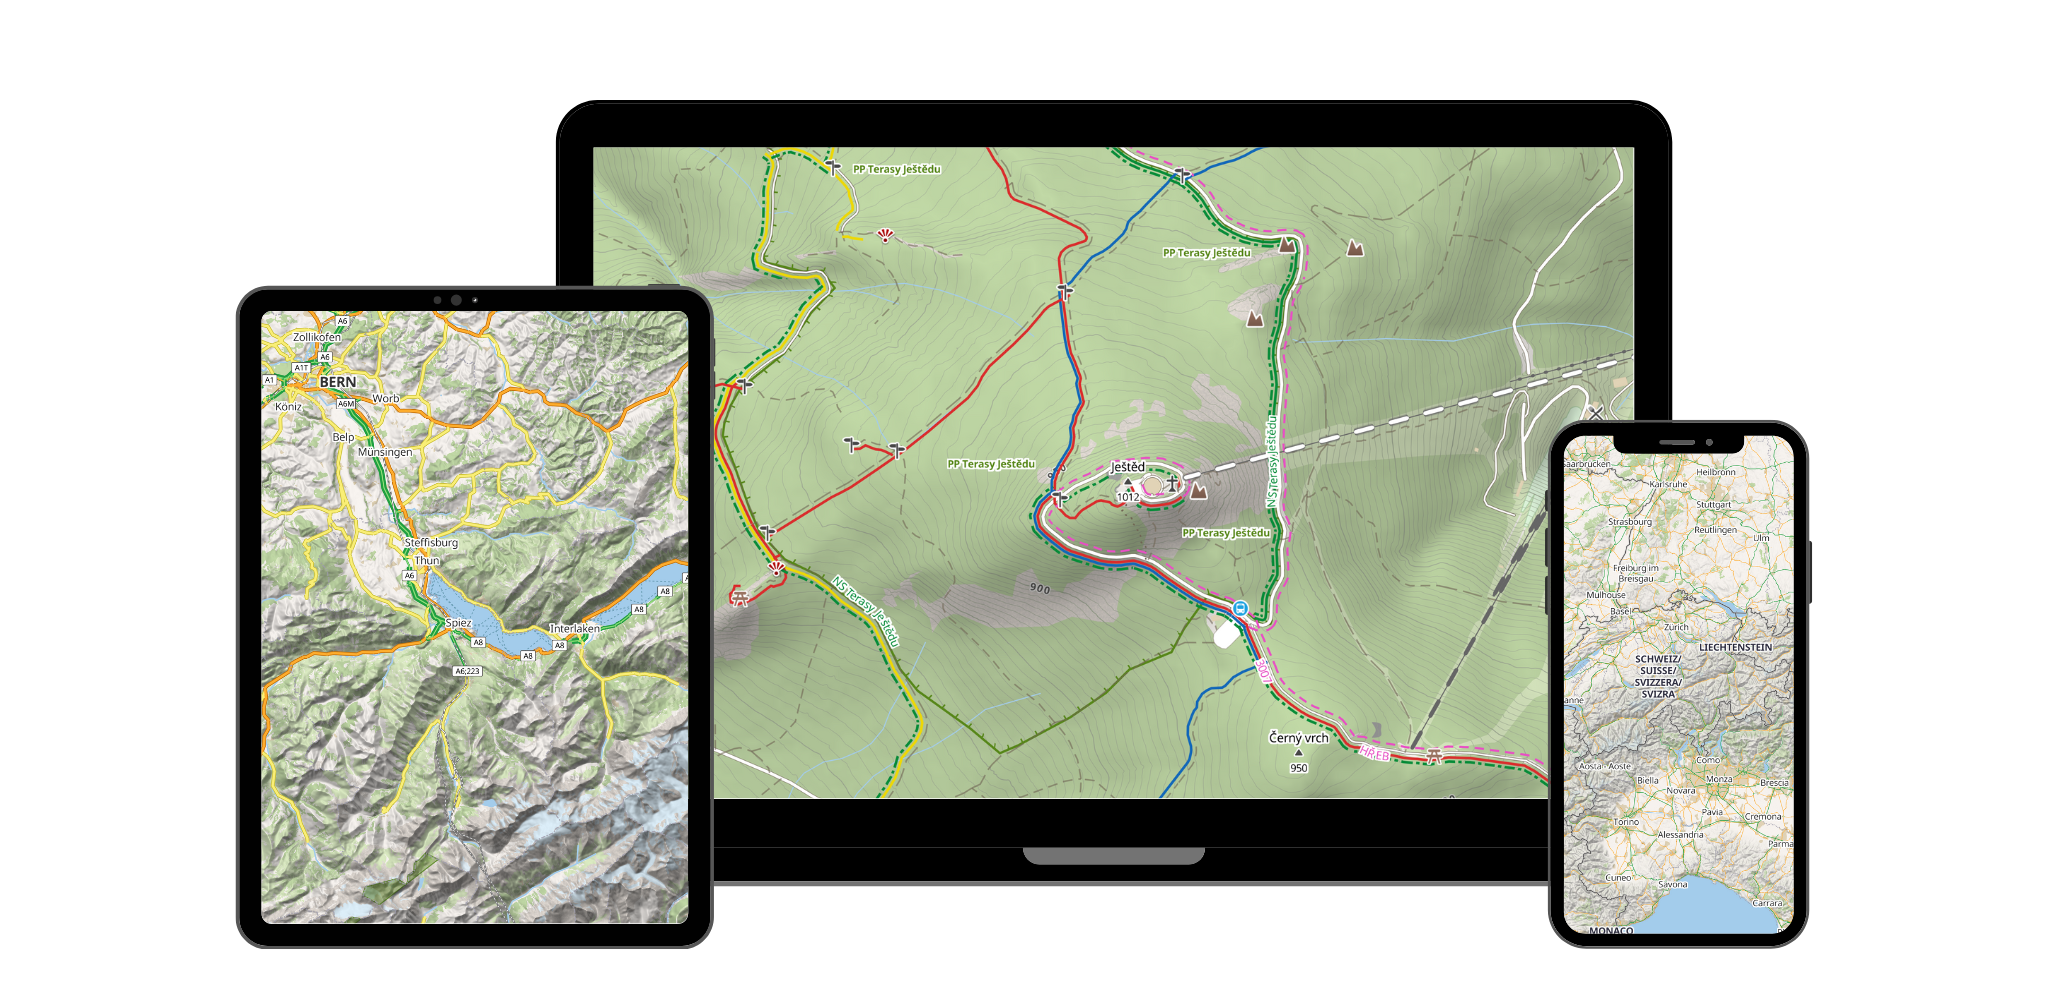
If you’re building an app with maps, one of the first decisions you’ll make is whether to use vector tiles or raster tiles. It’s not an obvious choice, and the tradeoffs matter more than most tutorials let on.
I’ve shipped apps using both. Here’s what I wish someone had explained to me at the start.
What’s actually in a tile?
Let’s start with the basics, because the terminology can be confusing.
Raster tiles are pre-rendered images. Each tile is a PNG or JPEG — a picture of a small piece of the map at a specific zoom level. The server generates (or caches) these images, and the client just displays them. What you see is exactly what was rendered on the server.
Vector tiles contain raw geographic data — points, lines, polygons — encoded in a compact binary format (usually Protobuf). The client receives this data and renders it locally using a style definition. The rendering happens on the user’s device, not on the server.
Think of it like the difference between receiving a PDF (raster) and receiving an HTML page with CSS (vector). The PDF looks the same everywhere. The HTML can be restyled, searched, and interacted with.
Rendering: server vs. client
This is the fundamental difference, and everything else flows from it.
With raster tiles, the server does all the rendering work. It composites multiple data sources (base map, contours, hillshading, labels), applies the style, handles text placement, and outputs a finished image. The client just tiles these images together.
With vector tiles, the server sends raw data and the client does the rendering. A library like MapLibre GL JS (for web) or MapLibre Native (for mobile) takes the vector data, applies a style definition, and renders the map using the device’s GPU.
What this means in practice
Performance: Vector tiles are smaller to transfer (typically 20–50 KB vs. 50–200 KB for raster) and render smoothly during panning and zooming because the GPU can interpolate between zoom levels. Raster tiles can feel “snappy” at integer zoom levels but show visible loading during smooth zooming.
Server cost: Rendering raster tiles is CPU-intensive. The server has to composite multiple layers, render text with proper placement, and encode the result as an image — for every tile, at every zoom level. Vector tile serving is essentially file serving. This is why MapRiot charges 5 units for a raster tile and 1 unit for a vector tile.
Client cost: Vector rendering uses the device’s GPU. On modern phones and laptops, this is fast and efficient. On very old devices or when displaying extremely dense data, it can struggle. Raster tiles are light on the client — just image display.
Styling and customization
This is where vector tiles really shine.
With raster tiles, the style is baked in at render time. If you want to change the color of hiking trails, you need a different raster tile set. Want to hide buildings? Different tile set. Want to switch between light and dark mode? You guessed it.
With vector tiles, the style is separate from the data. You can change colors, toggle layers, adjust label sizes, and switch between visual themes — all on the client, instantly, without any server changes.
Here’s what a simple style layer looks like in MapLibre GL:
{
  "id": "hiking-trails",
  "type": "line",
  "source": "mapriot",
  "source-layer": "transportation",
  "filter": ["==", "class", "path"],
  "paint": {
    "line-color": "#e74c3c",
    "line-width": 2
  }
}
Change line-color and your trails are now blue. Add a filter and you’ve hidden all trails below a certain difficulty. None of this requires a round trip to the server.
Interactivity
Vector tiles let you interact with map features because the raw geometry is available on the client. You can:
- Tap a trail to see its name, length, and difficulty
- Highlight a building on hover
- Query all features within a bounding box
- Filter dynamically based on user preferences
With raster tiles, the image is opaque. You can click on a pixel, but you don’t know what geographic feature it represents without a separate data lookup.
For an outdoor app where users want to tap a peak and see its elevation, or select a trail to see the route — this interactivity is essential.
When raster tiles make sense
Vector tiles aren’t always the better choice. Raster tiles are preferable when:
Your mapping library doesn’t support vector rendering. Leaflet, the most popular lightweight mapping library, renders raster tiles natively. Vector tile support requires plugins that add complexity and bundle size. If you’re already using Leaflet and don’t need interactivity beyond basic markers, raster tiles are simpler.
You need pixel-perfect consistency. Since raster tiles are pre-rendered, they look identical across all devices. Vector rendering can vary slightly depending on the GPU, driver, and platform. For printed maps or applications where exact visual consistency matters, raster can be safer.
Your users have very old devices. Vector rendering requires WebGL (on the web) or OpenGL ES (on mobile). Most modern devices support this, but some older hardware doesn’t. Raster tiles work everywhere that can display images.
You’re embedding a simple map widget. If all you need is a non-interactive map thumbnail — say, showing a business location — raster tiles or even a static map image are simpler and lighter than loading an entire vector rendering engine.
The MapRiot approach: both
We serve both vector and raster tiles because different applications need different things.
The Style API (vector) gives you our map data as vector tiles. You load them into MapLibre GL JS, apply our outdoor style (or your own), and get full interactivity, smooth zooming, and client-side rendering. This is what most modern apps should use.
The Composite Raster API gives you the same styled map as pre-rendered image tiles. One URL, one tile per request, works with any library that can display tile images. It’s the easier integration path for Leaflet-based apps or simple embedded maps.
Here’s a minimal example with each:
Vector tiles with MapLibre GL JS
<div id="map" style="width: 100%; height: 400px;"></div>
<script>
const MAPRIOT_APIKEY = 'YOUR_KEY';
const map = new maplibregl.Map({
  container: 'map',
  style: 'https://api.mapriot.com/styles/outdoor.json',
  center: [14.42, 50.08],
  zoom: 12,
  transformRequest: (url) => {
    if (url.startsWith('https://api.mapriot.com') && !url.includes('apiKey')) {
      return { url: url + (url.includes('?') ? '&' : '?') + 'apiKey=' + MAPRIOT_APIKEY };
    }
    return { url };
  },
});
</script>
Raster tiles with Leaflet
<div id="map" style="width: 100%; height: 400px;"></div>
<script>
const map = L.map('map').setView([50.08, 14.42], 12);
L.tileLayer(
'https://api.mapriot.com/styles/outdoor/raster/{z}/{x}/{y}?apiKey=YOUR_KEY',
{
attribution:
'<a href="https://mapriot.com/copyright" target="_blank">© MapRiot.com</a> ' +
'<a href="https://www.openstreetmap.org/copyright" target="_blank">© OpenStreetMap contributors</a>',
}
).addTo(map);
</script>Both render the same outdoor map. The first gives you interactivity and smooth zooming. The second is simpler to set up and works in any environment.
Cost comparison
Since vector tiles are just serving files while raster tiles require server-side rendering, the cost difference is meaningful:
| Vector (Style API) | Raster (Composite API) | |
|---|---|---|
| Units per tile | 1 | 5 |
| Sources loaded | 4 (map, contours, hillshading, relief) | 1 (composited) |
| Total units per tile position | 4 | 5 |
| Client rendering | Yes (GPU) | No |
| Interactivity | Full | None |
The per-position cost is actually similar (4 vs. 5 units) because the Style API loads multiple sources per tile. But you get dramatically more functionality with vector tiles for roughly the same price.
My recommendation
For new projects:
Use vector tiles (MapLibre GL JS / MapLibre Native) unless you have a specific reason not to. The ecosystem is mature, performance is excellent, and the interactivity opens up features that raster simply can’t provide.
Use raster tiles if you’re adding a map to an existing Leaflet project, building a simple embed, or targeting devices that don’t support WebGL.
Use static map images for email thumbnails, social sharing previews, or anywhere you need a map without JavaScript.
Check out our integration examples to get started with either approach, or browse the map to see the vector-rendered outdoor style in action.